Assemble the Tesla Model 3 Spoiler
6 steps
Lay out the spoiler parts
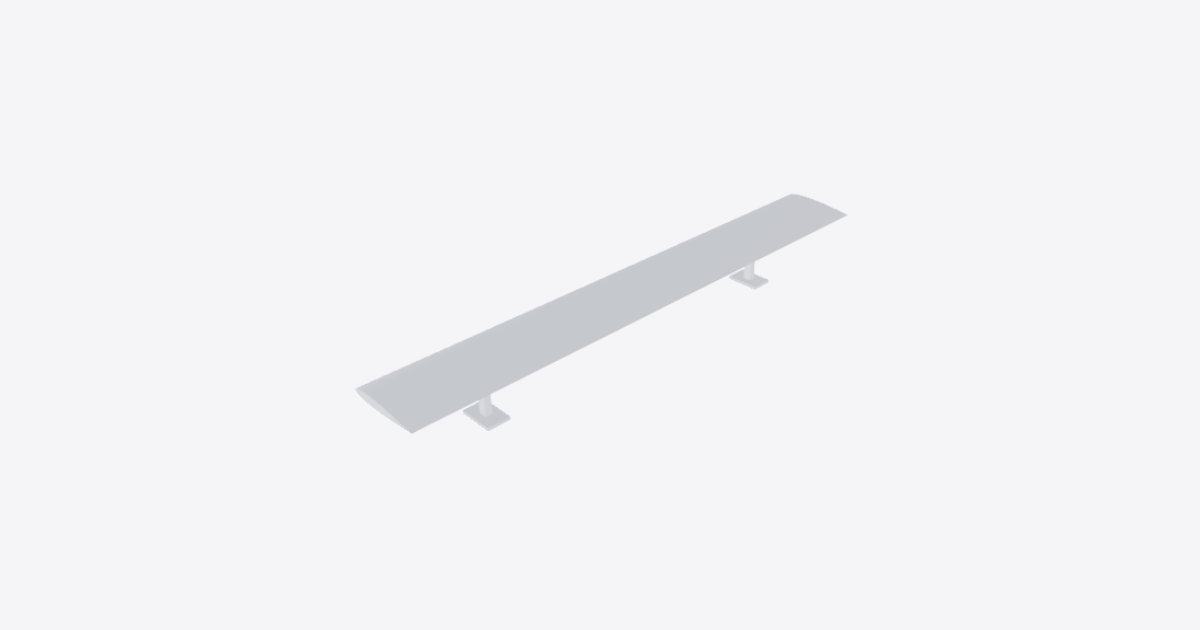
Support the rear wing on a clean, padded surface with its underside accessible. Set out both moving brackets, both uprights with their boot feet, the four wing screws, and the two pivot bolts. Keep the left and right parts on their matching sides.
Position the moving brackets
Hold the left moving bracket and right moving bracket against the underside of the rear wing on their matching sides. Align each bracket’s front and rear screw holes with the holes in the wing. Keep both uprights out of the way so the rear screw locations stay accessible.
Fasten the brackets to the wing
Insert the four wing screws from below, one front and one rear screw through each bracket into the wing. Start all four by hand before tightening. Make sure both brackets sit flush against the wing as you secure them.
Align the uprights with the brackets
Bring both uprights with their boot feet into position beneath the moving brackets. Keep the feet facing down and align each upright’s pivot hole with the matching bracket hole. Support the assembly while the pivots are unsecured.
Install the pivot bolts
Insert both pivot bolts, one through each aligned pivot joint. Start each bolt by hand and check that it seats without binding. Keep supporting the wing until both pivot bolts are seated.
Check the spoiler in the flat position
With the rear wing flat, verify that both brackets sit flush, all four wing screws and both pivot bolts are seated, and the left and right uprights are aligned. Do not put the spoiler into service until all fasteners have been tightened to the specified torque.