Desktop Air Quality Monitor Enclosure Assembly
10 steps
Clean the printed enclosure
With electronics out, remove print debris from the enclosure base and maintenance lid. Clear vents, cutouts and screw holes without enlarging them or trimming posts.
Dry-fit the lid on the empty base
Set the maintenance lid on the empty enclosure base without screws. Check for a flush, stable fit and four aligned holes. Remove the lid and keep its screws separate from the controller screws.
Fit the OLED and the front button
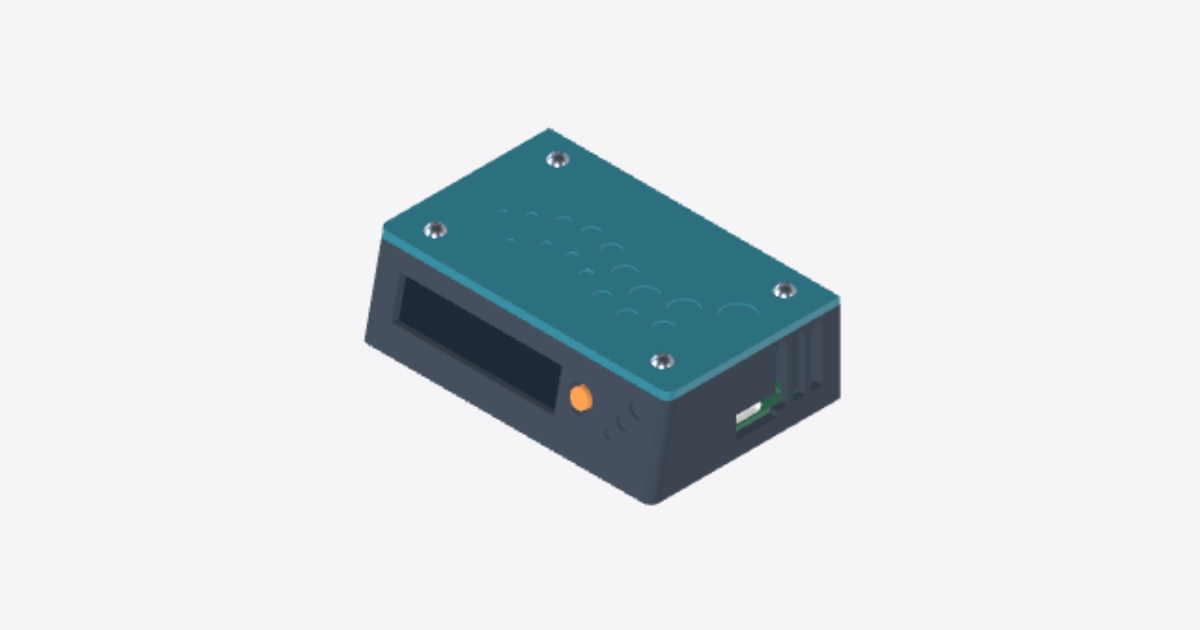
With power off, dry-fit the 1.3-inch OLED in the front window and the single momentary button in the round hole. Center the display without pressing the glass and check that the button moves and returns freely. Use only approved retainers; stop if fit or retention is unverified.
Seat the populated controller board
Seat the populated controller board flat on the posts, with the USB-C receptacle facing the cutout. Check all three screw holes and keep both sensor openings clear. Stop if the ESP32, SCD41 or BME280 is supplied separately.
Align USB-C and secure the controller
Start the three controller screws at front left, rear left and front right. Center the USB-C receptacle and check that an unpowered plug seats without rubbing or shifting the board. Remove the plug, snug the screws evenly without bowing the board, then recheck fit.
Connect and route the front-panel wiring
Unplug USB. Connect the OLED and button to the controller board only after verifying connector assignments, pinout and polarity. Leave slack and route leads along a solid wall, clear of sensor openings, vents, USB-C, screw posts, button travel and the lid seam.
Power on by USB before closing
With the lid off, check wiring and remove loose hardware or debris. Apply power at the USB-C receptacle with a known-good cable. Check normal OLED startup, button response and updated readings from both sensors without errors. Unplug USB before fixing faults or closing.
Seat the maintenance lid
Unplug USB and clear the vents and seam. Seat the maintenance lid on its four posts without pinching wires. Check for a flush fit and aligned holes; lift and clear any interference instead of forcing it shut.
Secure the lid with its four screws
Start all four lid screws, then snug opposite corners evenly until the lid is flush. Stop if a screw binds or the lid bows. Do not use controller screws.
Check final fit and function
Check that the lid is flush, screws are seated, nothing is loose and vents are clear. Check OLED readability and free button travel and return. Reconnect USB without force and repeat the display, button and both sensor checks. Unplug before reopening.