
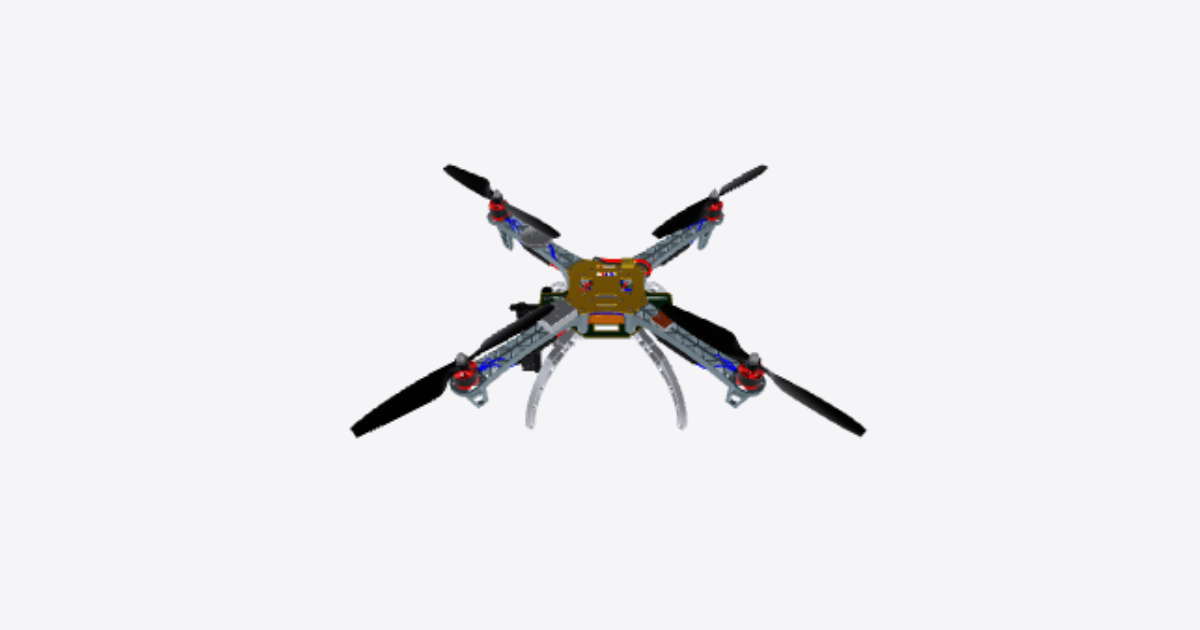
Replace motor
8 steps
Unscrew the Motor Nut
Disconnect and remove the flight battery first. Hold the motor bell so it cannot turn, then unscrew the highlighted propeller nut with a wrench or prop tool. Note which way it loosens: on many quadcopters the clockwise-spinning motors use reverse-thread nuts.Remove the propeller
Lift the propeller straight off the motor shaft and keep it with its nut. Mark which motor it came from: clockwise and counter-clockwise propellers are not interchangeable.Unscrew the 4 M3 screws under the Motor
Turn the arm over and remove the four highlighted M3 screws that hold the motor to the arm. Support the motor so it does not drop, and keep the screws: you will reuse them.Remove the Motor
Note the order of the motor's three wires at the speed controller (ESC), then unplug or desolder them. Lift the motor off the arm.Replace with new motor
Fit a motor of the same size, KV rating and spin direction as the original (the stock F450 motor is a 2212, 920 KV motor). Seat it on the arm with its mounting holes aligned, route the wires along the arm as before, and connect them to the ESC in the order you noted.Screw back bottom screws
Refit the four M3 screws from under the arm and tighten them evenly. Use screws of the original length: a screw that is too long can touch the motor windings and short them. Before refitting the propeller, check the spin direction: with all propellers off, connect the battery and run a motor test. If the motor turns the wrong way, swap any two of its three wires. Disconnect the battery again.Put back the propeller
Slide the propeller you marked back onto the same motor shaft, with its printed side facing up.Screw back the motor nut
Hold the motor bell and tighten the propeller nut firmly. Check that the propeller sits flat without wobbling and that all four propeller nuts are tight before the next flight.