Create a step-by-step assembly procedure for the 3D-printed
10 steps
Set the base on a flat surface
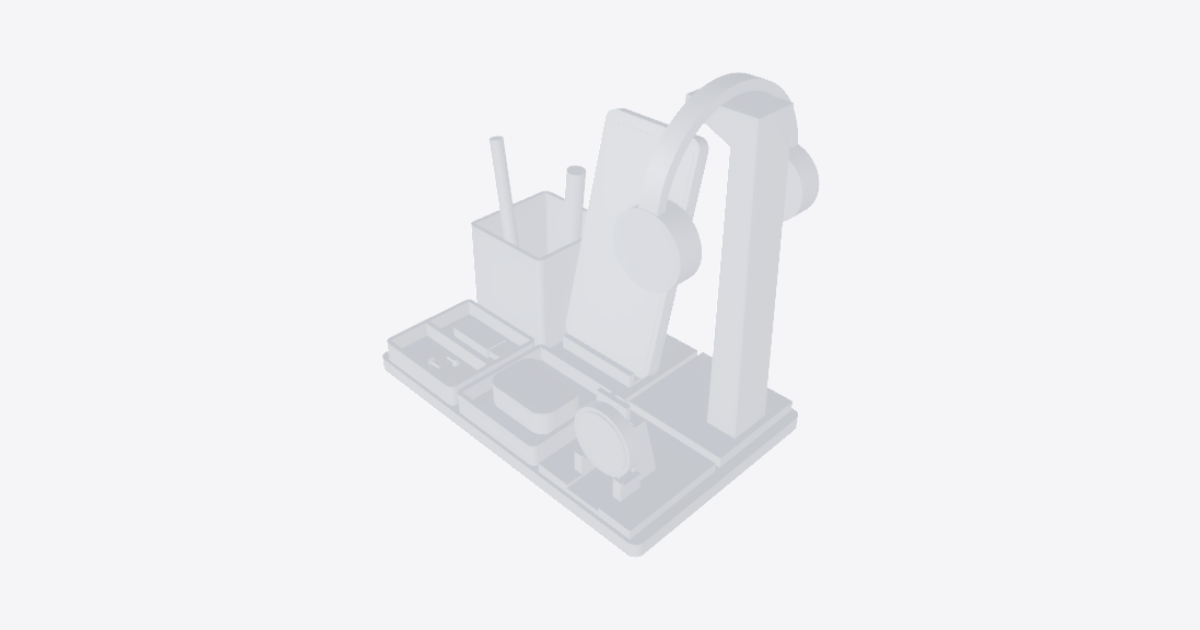
Set the desk organizer base on a level desk, holes up, with a long edge toward you. For each module, align both pegs and lower it by hand until it sits flat. If it binds, lift and realign it. Never force it. The example screws are not fasteners.
Fit the pen cup at the back left
With the opening up, lower the pen cup straight into the back-left holes.
Fit the phone stand at the back center
With its lower lip facing front, lower the phone stand straight into the back-center holes.
Fit the headphone hanger at the back right
Grip the headphone hanger near its foot. Point the top arm toward the phone stand and lower it straight into the back-right holes.
Fit the USB and screw tray at the front left
With the compartments up, lower the USB and screw tray straight into the front-left holes.
Fit the catchall tray at the front center
With the open side up, lower the catchall tray straight into the front-center holes.
Fit the watch stand at the front right
With its support facing front, lower the watch stand straight into the front-right holes.
Check fit and stability
Check that the desk organizer base lies flat and no module rocks, shifts, or shows an uneven gap. Reseat any loose module. Load one item at a time: the phone should rest on the lip, the headphones should hang clear, and the base should not tip. Remove anything unstable.
Detach a module without prying
Unload the module. Hold the desk organizer base down and lift the module straight up by its foot, as shown with the catchall tray. Move it sideways only after both pegs clear. If it binds, stop. Do not pry or twist.
Reseat or rearrange the modules
Choose an empty pair of matching holes with room for nearby modules and their contents. Lower the module straight down, as shown with the catchall tray. If it won't sit flat without force, return it to its original spot. Recheck stability before loading.