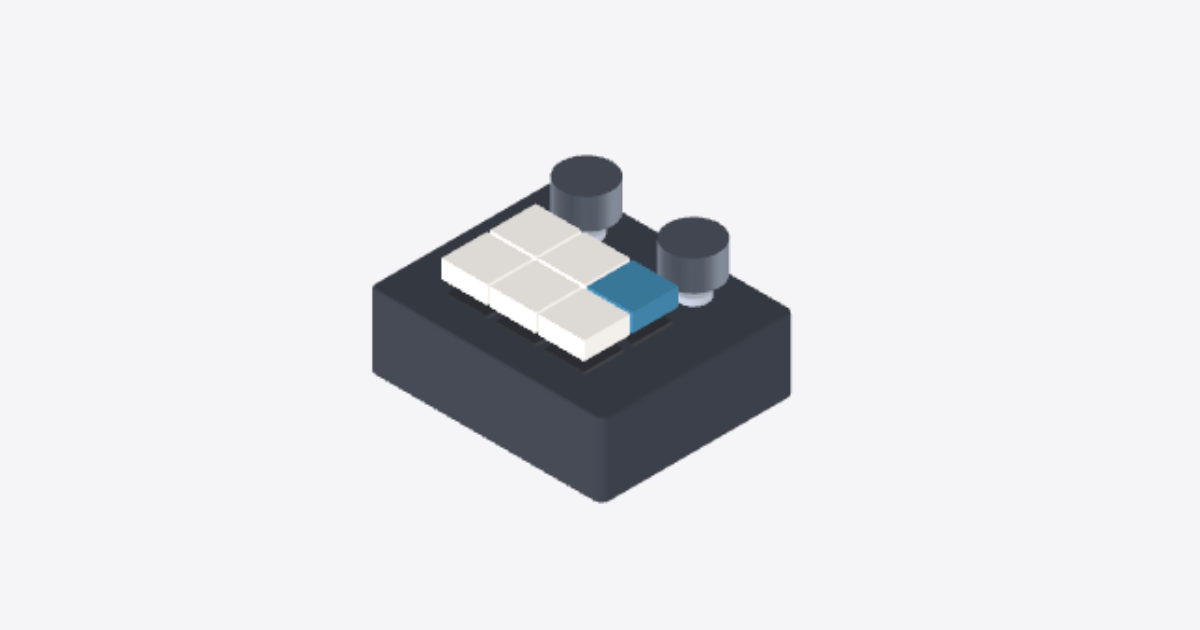
6-Key Desktop Macro Pad Assembly
11 steps
Prepare the tilted upper shell
Start with the upper shell on a stable work surface and the enclosure open. Keep USB power disconnected. Check that the six switch openings, two encoder openings, rear USB-C opening and bottom mating edge are clear of print debris. Set the removable bottom and fasteners aside.
Seat the six MX switches
Insert the six MX switches from the outside of the upper shell, with stems outward and terminals inside. Align each housing with its square opening and press it in evenly. Check that each housing sits flush and stays seated. Stop if a switch binds or its terminals would have to bend.
Fit the two rotary encoders
Feed the shafts of the left zoom encoder and right tool encoder through their round openings from inside the upper shell. Keep the terminals accessible. Secure each encoder with the retention hardware specified for the actual encoder and enclosure. If that hardware is not identified, stop before fitting the knobs. Check that the bodies cannot rotate and that both shafts turn freely.
Fit the keycaps and knobs
Support the controls from inside the shell. Seat the six DSA keycaps squarely on the switch stems. Align and fit the left zoom knob and right tool knob to their shafts using the knob’s specified retention method. Check that each key returns freely and neither knob rubs the shell.
Seat the RP2040 board on the removable bottom
Place the removable bottom inside face up. Align the Waveshare RP2040-Plus with the molded guides, with the USB-C connector toward the rear opening. Guide the connector end into its seat first, then settle the rest of the board. It should lie flat without pressure on the connector or components. Do not force the board into the guides.
Secure the controller and fit any specified PCB
Place the removable controller keeper across the front end of the Waveshare RP2040-Plus. Align its holes and fit the two keeper screws from the underside of the bottom. Use screws that match the actual mount. Seat the keeper without bending the board or shifting its USB-C connector.
If this build calls for a separate PCB, fit it at its designated mounting points with the specified hardware. Make sure it cannot touch exposed terminals or foul the bottom. If the location or hardware is not specified, stop rather than mounting it by trial and error.
Connect and route the wiring
With USB disconnected, connect the six MX switches and two rotary encoders to the Waveshare RP2040-Plus or the specified PCB. Use the wiring map for the installed firmware, including switch connections, encoder A/B and common, and encoder push contacts if fitted. If the map or any assignment is unknown, stop before connecting or applying power.
Leave enough slack to lift the bottom for service without pulling the terminals. Keep wiring away from moving controls, screw locations, the case seam and the USB-C plug path. Bring the two halves near their mating position without fastening them and check that the plug can enter straight and seat fully without contacting the shell. With USB still disconnected, check connections against the map and check for unintended shorts.
Test every input with the enclosure open
Support both halves so the wiring is not under tension. Connect the USB-C cable plug to the controller and connect the cable to a host. Verify that the host recognizes the device. Press and release each of the six DSA keycaps separately. Turn the left zoom knob and right tool knob in both directions and test each push input that is fitted and configured. Check for the expected event without missed, repeated or unintended events. If any input fails, disconnect USB before correcting the wiring and repeat the full test. Do not close the enclosure until every input passes.
Unplug USB and seat the bottom
Disconnect the USB-C cable plug. Tuck the service slack into the enclosure, clear of the seam, fastener holes and connector. Bring the removable bottom and its controller assembly into the upper shell together, guiding the USB-C connector into alignment with the rear opening. The seam must close evenly without force. If it does not, reopen the case and move the wiring clear.
Secure the removable bottom with four screws
Start the four corner screws by hand through the removable bottom. Use screws specified for the enclosure. Tighten opposite corners in turn until the bottom is seated evenly. Do not overtighten or use screws to pull a gapped seam closed. Do not glue the bottom.
Check USB-C clearance after closure
Insert the USB-C cable plug through the rear opening. It must seat fully without rubbing the upper shell or moving the connector. Check that the host recognizes the pad and repeat the input check to catch any fault introduced by closure. If anything binds or fails, disconnect USB and reopen the bottom before correcting it.