First-time setup and build platform leveling
Tools
- Allen wrench
- A4 paper
Protective equipment
- Mask
- Gloves
Notice: LCD impact risk: move the Z axis one tap at a time; never hold the movement control down.
Notice: Solid residues in the vat or on the platform can damage the LCD. Remove them before printing.
Caution: Avoid direct skin contact with resin. Wear gloves whenever handling resin.
Caution: Wear gloves for any resin refill and avoid direct skin contact.
13 steps
Unpack and position the printer
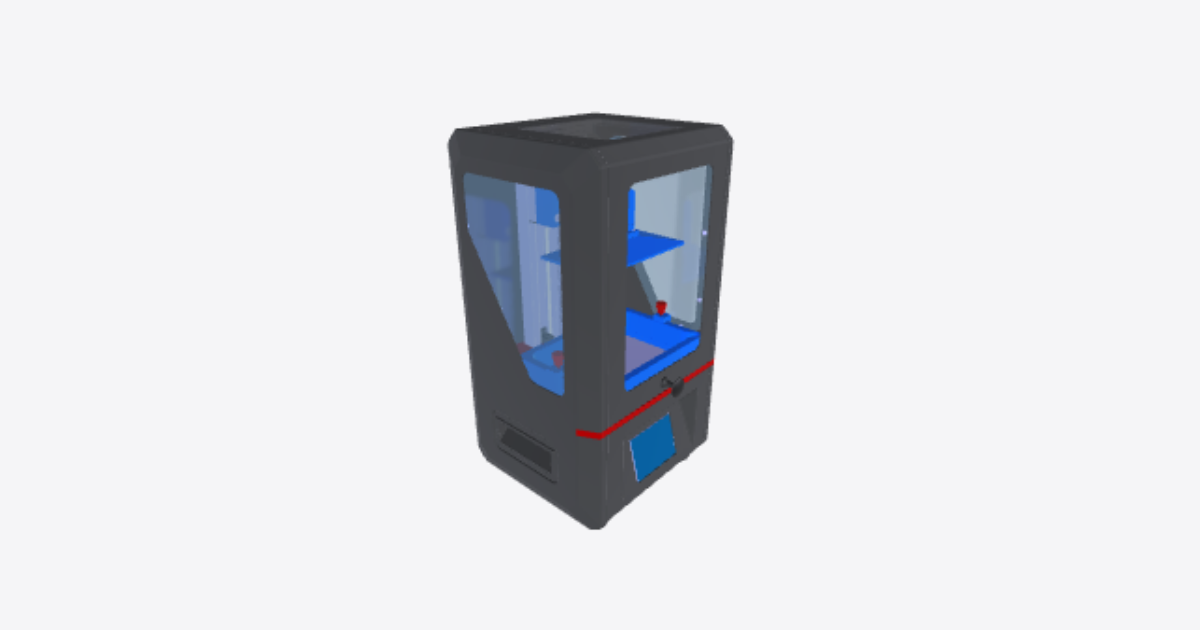
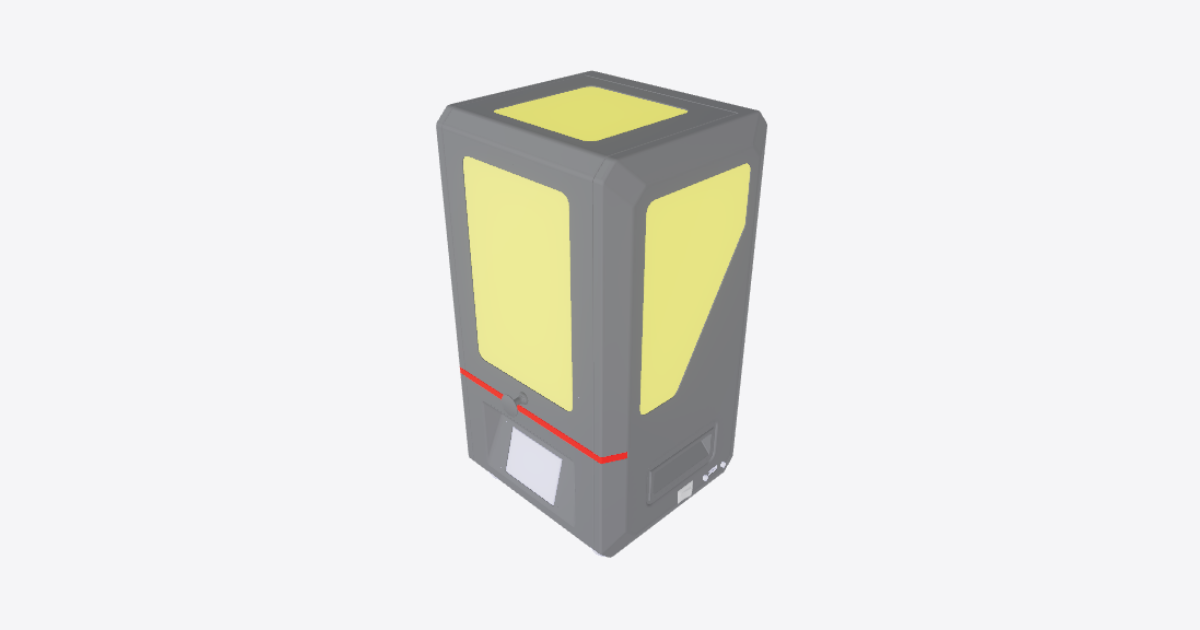
Unpack the printer and remove the protective film from its exterior. Place it on a flat, stable surface at room temperature, away from direct sunlight and dust. Keep the build platform and resin vat uninstalled until their installation steps.
Fit the handle, inspect and power on
- Install the handle on the top cover as shown in the illustration.
- Open the top cover. Check that the 2K LCD screen and build platform are clean and free of dust. Leave the platform and resin vat uninstalled.
- Connect the power supply and turn on the power switch.
Home the Z axis with the platform and vat out
On the touchscreen, select TOOLS → MOVE Z → HOME. Wait for the Z axis to descend and stop automatically. Keep the build platform and resin vat out of the printer during this operation. Use the on-screen stop control shown in the illustration if motion must be stopped immediately.
Loosen the platform leveling screw
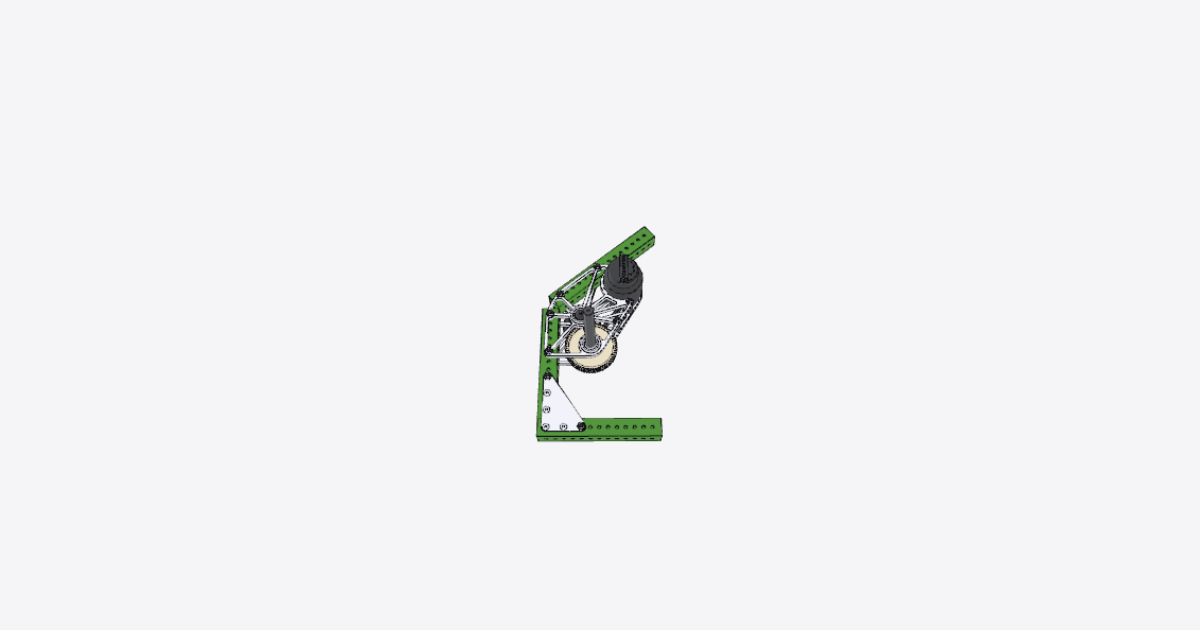
On the uninstalled build platform, use an Allen wrench to loosen the leveling screw identified in the illustration. This is the leveling screw in the platform head, not the red fixing knob.
Protect the LCD and install the build platform
- Place a sheet of A4 paper on the 2K LCD screen.
- Fit the build platform onto its mounting bracket. If there is insufficient clearance, raise the Z axis in 0.1 mm or 1 mm increments until the platform can be installed.
- Tighten the red platform fixing knob on top. Leave the leveling screw loose for the following adjustment.
Lower the platform to paper-drag resistance
If the build platform is still above the paper, lower the Z axis in 0.1 mm or 1 mm increments while sliding the A4 paper back and forth. Stop when you feel drag resistance.
Tap only once per movement. Do not press continuously: the platform could strike the LCD. If the Z axis lowers too far, use the on-screen stop control shown in the illustration immediately.
Hold the platform level and secure the screw
Gently press the build platform down so it sits evenly against the paper-covered LCD, without tilting. While holding it level, tighten the leveling screw with the Allen wrench. Keep the edges marked in the illustration parallel, and use the short handle of the wrench for final tightening.
Recheck the paper gap and save Z=0
- Recheck the build platform clearance by moving the Z axis up and down carefully until the paper again pulls with resistance. Continue using single taps, not continuous presses.
- At that height, select TOOLS → Z=0 and confirm OK in the pop-up to save the first-layer starting position.
Z=0 is different from the default Z Home position.
Raise the platform and test the UV-LCD
- Gradually raise the build platform approximately 120 mm. Remove the leveling paper from the LCD.
- Select TOOLS → DETECTION, set the test exposure time on screen, then select NEXT. Check that the LCD displays the complete rectangular pattern shown in the illustration.
- If the pattern is incomplete or absent, do not proceed with printing; contact technical support.
Install and secure the clean resin vat
- Check that the resin vat is clean. Ensure there are no solid residues in the vat or on the build platform before printing.
- With the platform raised and the leveling paper removed, slide the vat into position until it aligns with the two limit screws on the panel.
- Tighten both red adjustable fasteners, one on each side, to secure the vat.
Insert the USB memory and fill the vat
- Insert the USB memory into the printer's USB port.
- Put on a mask and gloves. Slowly pour resin into the resin vat until it reaches approximately one-third of the vat's volume, then close the door. Avoid direct skin contact with resin.
Start the supplied test print
Remove your gloves before operating the touchscreen. Open PRINT, select PHOTON.photon, then press the start/play control shown in the illustration. Keep the printer flat and undisturbed, away from direct sunlight throughout printing.
Monitor the test print through completion
Allow the test print to finish with the printer flat and undisturbed, away from direct sunlight. If resin becomes insufficient, select Pause and wait for the platform to rise. Put on your mask and gloves before slowly adding resin to the resin vat. Close the door, remove your gloves and press Start to resume.
Once printing finishes, let resin stop dripping from the build platform before handling it.