
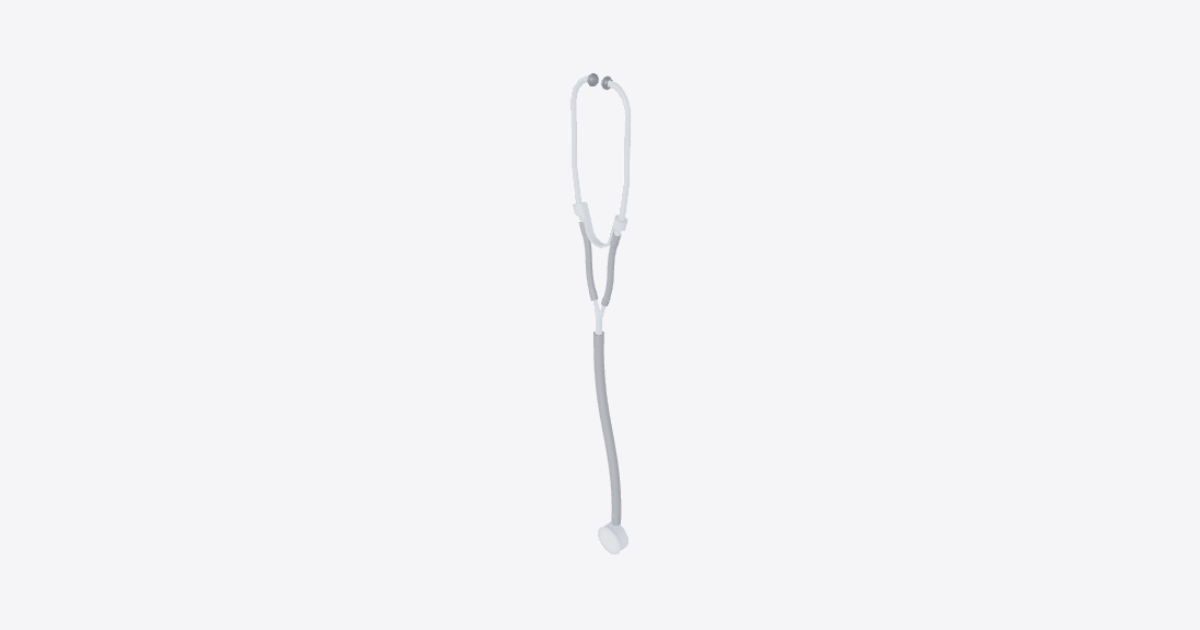
Assemble the stethoscope
Tools
- blade
- printed cutting template
Warning: A self-built stethoscope is not a certified medical device. Glia's Health Canada licence only covers units Glia makes. Every unit must be tested with Glia's validation instructions before clinical use.
11 steps
Review the clinical-use warning
A self-built stethoscope is not a certified medical device. Glia's Health Canada licence only covers units Glia makes. Every unit must be tested with Glia's validation instructions before clinical use.
Build the Glia stethoscope by Glia Inc. / GliaX, released under the TAPR Open Hardware License v1.0. Project: github.com/GliaX/Stethoscope.
Credit: Glia Stethoscope by Glia Inc. / GliaX (Tarek Loubani, Alex Pavlosky et al.), licensed under the TAPR Open Hardware License v1.0; source files, licence text and validation instructions at github.com/GliaX/Stethoscope. Changes by TwinWorks: the 3D model was assembled from Glia's print files with the print helpers removed and the silicone tubes, diaphragm and earbuds added as simple stand-ins; always print from Glia's original files.
Print the rigid parts
Print the chest piece, diaphragm ring, Y-piece, both ear tubes and spring in PETG or ABS. Use Glia's slicer files without changing the settings: 100% infill and 0.2 mm layers. Lower infill changes the sound.
Also print the diaphragm cutting template.
Trim the ear tubes
Trim the small mouse ears off both ear tubes with a blade.
Cut the diaphragm
Use the printed cutting template to cut a 40 mm diaphragm from approximately 0.35 mm thick plastic, such as a report cover.
Fit the diaphragm and ring
Lay the diaphragm on the chest piece. Press the diaphragm ring over it to retain it.
Connect the long tube to the chest piece
Push the chest piece stem into one end of the 50 cm long, 8 x 13 mm silicone tube.
Connect the Y-piece
Push the free end of the long silicone tube onto the large bore of the Y-piece.
Fit the spring to the ear tubes
Fit the spring onto both ear tubes, with the left and right tubes arranged as shown.
If the fit is poor, scale and reprint only the spring. Never scale the chest piece or diaphragm ring, because this changes the sound.
Connect the two short tubes
Join each arm of the Y-piece to its corresponding ear tube using one of the two 10 cm long, 4 x 8 mm silicone tubes. Fit one short tube on each side.
Fit the silicone earbuds
Push both silicone earbuds onto the ear-tube tips, one on each side.
Validate the assembled stethoscope
Test the assembled stethoscope as described in Glia's validation instructions. Test every unit before clinical use. Do not use a unit clinically unless it passes Glia's validation requirements.