
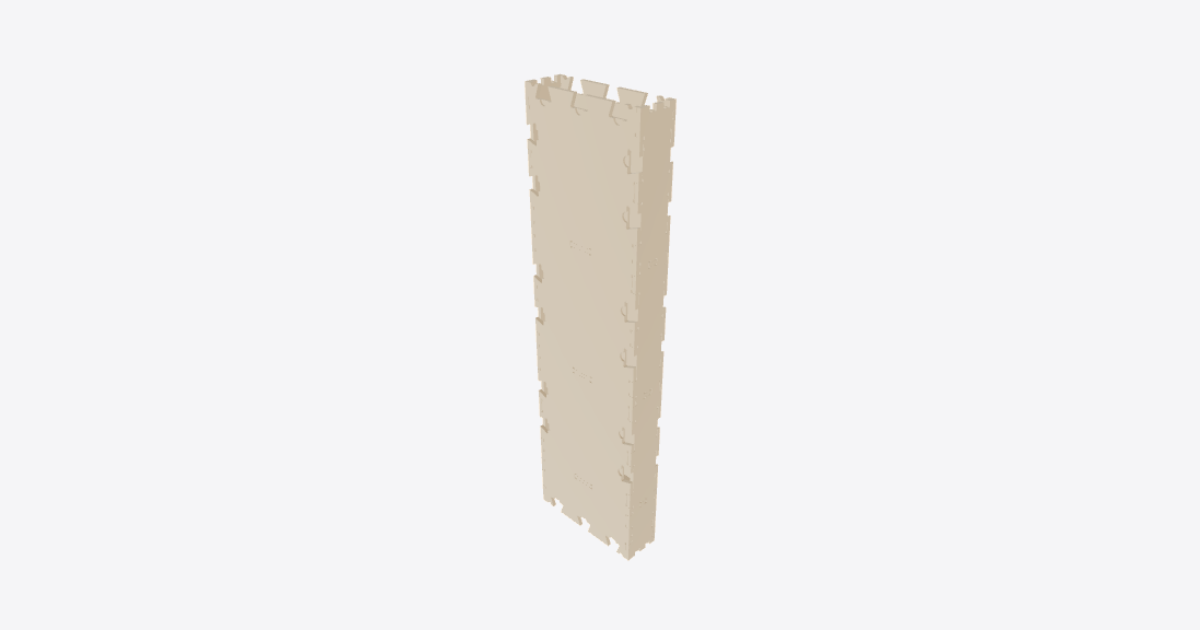
Build a Skylark wall block
Tools
- brad nail gun
Protective equipment
- Eye protection
- Ear protection
- Gloves
- Safety boots
- Mask
Warning: Block weighs about 40 to 60 kg. Two people must carry it.
10 steps
Prepare the seven parts and lay face A flat
Make one WikiHouse Skylark 150 W-S wall block. Identify the engraved labels on the seven CNC-cut 18 mm spruce plywood parts: face panel A (1), three ribs B, both side panels C and face panel D (1).
Wear eye and ear protection, gloves and safety boots throughout assembly. Lay face panel A flat on a stable, level support with its receiving joints accessible. Keep the other parts aside until needed.
Any WikiHouse building design must be checked by an engineer.
Credit: WikiHouse Skylark W-S block by Open Systems Lab (wikihouse.cc), licensed CC BY-SA 4.0 (creativecommons.org/licenses/by-sa/4.0). Based on the WikiHouse manufacturing guide (wikihouse.cc/guides/manufacturing). Adapted by TwinWorks; this guide is shared under the same licence and is not endorsed by WikiHouse.
Fit the three ribs B into face A
Align the three ribs B with their matching joints in face panel A, at the positions shown in the model. Seat each rib fully without forcing the joint. Keep the side panels and final face aside.
If any joint is too loose or too tight, stop and contact the designer. Do not nail the trial assembly yet.
Interlock both side panels C
Fit both side panels C to face panel A and the three ribs B, engaging the interlocking joints as shown in the model. Seat the joints fully and keep the frame supported.
If a joint is too loose or too tight, stop and contact the designer. Leave the assembly un-nailed for the trial fit.
Test-fit face D before fixing the first block
For the first block of each type, complete a test assembly before producing more. Fit face panel D last over the open frame without nailing it. Check that all its joints engage and that the assembled block matches the model.
If any joint is too loose or too tight, stop and contact the designer. Proceed only when the trial fit is satisfactory.
Remove the trial-fitted face D
Lift the un-nailed face panel D clear of its joints and set it aside. Leave face A, the ribs and both sides interlocked and supported, with the cavities open for fixing and insulation.
Brad-nail the open frame at the CNC marks
Keep face panel A, both side panels C and the three ribs B fully interlocked. Fix the parts together with a brad nail gun at the screw and nail marks made by the CNC process. Keep face D off until the cavities have been filled.
Keep hands and other people clear of the nail path. Reposition the supported assembly as needed to reach the marked fixing locations safely.
Fill the open cavities with insulation
Fill the cavities between the three ribs B and both side panels C with insulation before closing the block. Keep the interlocking joints and the seating surfaces for the final face clear.
Wear a mask when handling mineral wool, in addition to the assembly PPE.
Fit face D last and nail at its marks
Fit face panel D onto the insulated frame, engaging all its joints. Seat the face fully, then secure it with the brad nail gun at its CNC-marked fixing locations.
Keep hands and other people clear of the nail path.
Check and mark the finished wall block
Check the finished wall block for fully seated joints and completion of the marked fixings. Mark it clearly with its order number.
Do not start further blocks of this type until the first block's test assembly has passed. Stop and contact the designer if a joint is too loose or too tight.
Carry the finished block with two people
The finished wall block weighs about 40 to 60 kg. Use two people to lift and carry it, coordinating the lift and keeping the route clear. Wear gloves and safety boots.